We recently removed the Padlet application from student iPads. However, that does not mean that you should stop using Padlet! In fact, if you have not made a Padlet Wall before, you should give it a shot. Padlets are a great way to share resources and information from a variety of users. They can be collaborative and creative as well as informative.
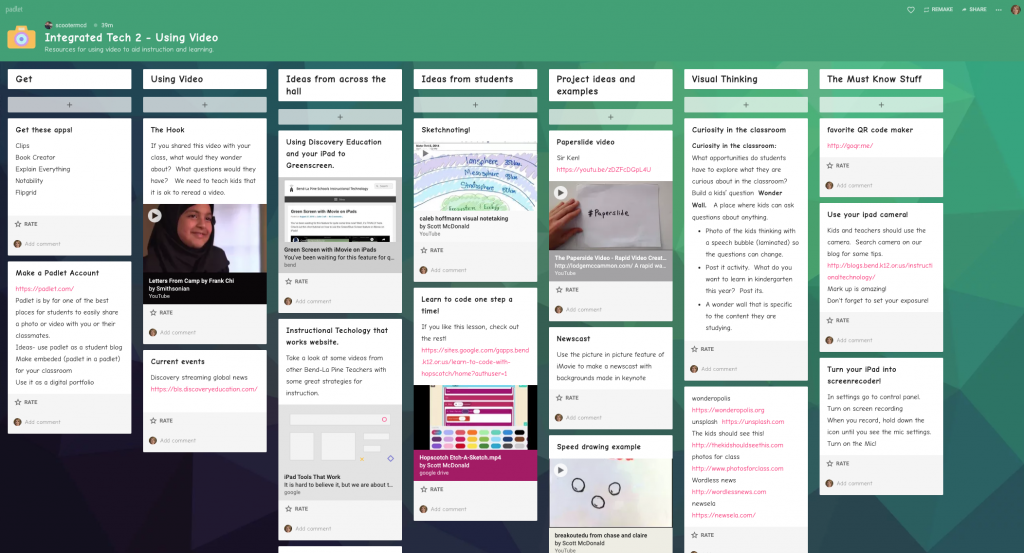
There are several ways to present and organize a Padlet depending on your audience and what it is you are trying to share. In this example, I have organized the Padlet as a “bookshelf” of resources for using video in the classroom. I originally created the headings and have just added more resources underneath the headings over time. I have shared other ways to use Padlet in the classroom in previous articles in this blog.
Padlets are easy to both make and share from the Padlet website. Teachers new to Padlet are allowed 3 free Padlet walls that can be cleared, renamed, and reused. Simply go to Padlet.com and create an account. Use the settings tab at the top right corner to change the layout of your Padlet. This is also where you will locate the tools to share your Padlet with your students. Since students no longer have access to the app, you will need to share the URL link with your class or provide them with the automatically created QR code that is visible in the Padlet settings.
As the teacher and creator of the Padlet, you can delete any post by students at any time. All student posts will be anonymous unless they take the time to write in their name. As a rule, I like to explain to students that I delete unnamed posts. This helps keep the conversation on topic, interesting and fun.